English Paper Piecing How To
If you’re interested in more bang for your buck while quilting,
this is an awesome option. All the seams meet – all the time. Points are never
cut off – not ever. Seams are always straight and you never have to deal with a
¼” seam, or a scant ¼” seam, or knowing when to use which one. The result is
just one beautiful quilt after another.
I did a small EPP block in another post and now I'm doing a whole quilt. How big is a whole quilt? I don't know yet - I'll know when I'm done! I'm making the Cherish quilt which you can see here. I have 16 blocks completed.
Really it's very simple. You use a 'paper' the exact size and shape of your piece, wrap the fabric around it, take a few stitches, or use glue, to hold it securely on the paper and then whip stitch the pieces together. The technique lends itself to fussy cutting as you can see in the small block I did. I love fussy cutting, but it really does make fabric unusable except for more fussy cutting!
You can print shapes and cut them out yourself in order to try this out without spending money. But you'll want to print on a heavier paper than your normal printer paper. Not cardstock, because that's too thick to stitch through, but something the weight of good construction paper.
Once you've decided you want to do more than try it out, I recommend purchasing your paper pieces for a few reasons -
- For a quilt of any size, you could need hundreds of pieces. That's just no fun.
- Hand-cutting the pieces means they will not all be exactly the same. A tiny sliver can make the difference between the seams meeting or not. This will become clear once you try it.
- Purchasing paper pieces is not expensive. I get mine HERE at PaperPieces.com and they ship pretty darn fast.
Drawbacks to EPP -
- It is a hand-stitching project. If you don't care for hand-stitching, you may not like it. There are methods that allow for stitching on the machine, but it seems to me it takes just as long as whip stitching, without the hunching over the machine. Search YouTube for some videos on how to do that.
- um ... that's the only drawback I could think of!
Here's the 1, 2, 3 of it all -
These are the papers I'll be using -
These are the papers I'll be using -
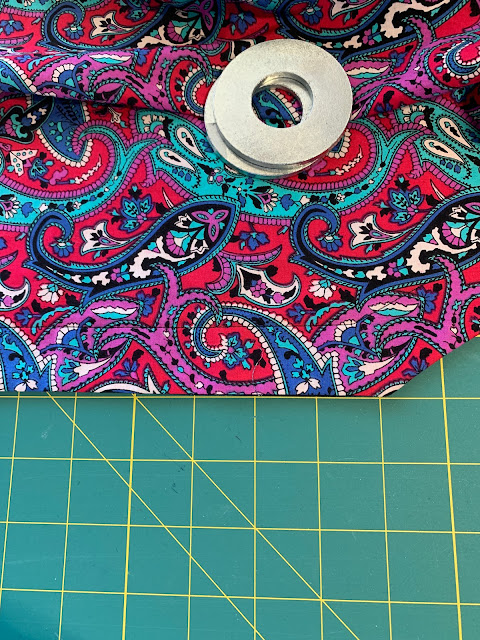
I want to fussy cut 6 diamonds from my fabric. I purchased this fabric especially because it would work well for fussy cutting.
I choose the part of the fabric I want to cut out, and traced around the piece, on the wrong side of the fabric, across the width, until I had 6 diamonds.
This is a great time to use your Wonder Clips if you have them. It's hard to pin through the fabric and paper, so the WC is just perfect.
- I usually fold the fabric over the paper at the tip, clip it,
- then I take a small stitch at the next fold,
- fold the fabric over the paper at the tip again - and here I take a stitch through the fabric and the paper. Not a small one, if it's larger it will be easier to remove. About a 1/4" ish.
- I go around the piece, until I get to the clipped tip, remove the WC, stitch through the fabric and paper, and I'm done with that piece.
After you get them wrapped and sewn/glued, it's time to decide how to sew them together. The pieces are directional. If you sew them together all the same direction, they will form a pattern, like a kaleidoscope.
Lay them out and see which way you like them.
I like the first layout best, and that's how I sewed them together. In order to do that, take two of the diamonds and place them right sides together. Use a WC and clip one end.
I use YLI silk thread to whip stitch the edges because it's fine enough to sink into the fabric and my stitches don't show so much, but in the next picture, I used black thread just so you could see how it looked.
And that's how it's done!
To finish the star, I'll sew one more diamond to the pair, then stitch another three diamonds together. That gives me two halves, stitch those together and you have a star. You can also sew three pairs together, but it's easier to do halves.
After each piece is completely surrounded by other pieces, you can remove the papers. In the pictures at the beginning of the post, I removed all the papers except for the outside row. The reason for that is because I will be joining the blocks and need the paper to remain inside the fabric until I sew it together.
So, now my question for you is - have you ever done EPP? Did you like it? If you haven't, do you think you might try it now? I'd love to hear about your adventure!
UPDATE: Sometime in the year 2021! I learned that it's not necessary to stitch through the paper at all. Just stitch the corners using 1 stitch and move on the next corner.
More later,
Karen


Comments
Post a Comment