Making Buttonholes on Dark, Busy Fabric When You Have Vision Difficulties
Wow, time flies! Seems like I just posted last week, but I guess not.
So, today I'm going to talk about buttonhole markings on a dark, very busy fabric.
I made a blouse that has buttons up the front and two buttons on the cuffs. Even just sewing seams, or top stitching, I had a difficult time seeing it well. So, when it came to making the buttonholes, I was concerned.
Then the light bulb turned on, and I got out the washable stabilizer again. I think I'm going to have to buy more of it.
But before that, I have to share how my 'new' machine makes awesome buttonholes. I have always had trouble with buttonholes. The ends are not always even, the length is not always the same, even though I measure and mark.
I think the buttonhole maker is so cool, I even did a video. The first thing you do is unplug the foot pedal! So, the following is all done without use of the foot pedal. No hands, no feet involved.
Ok, now on to marking on this darker, very busy fabric. I cut 1 1/4" strips to place along the front space for buttonholes and buttons.
 |
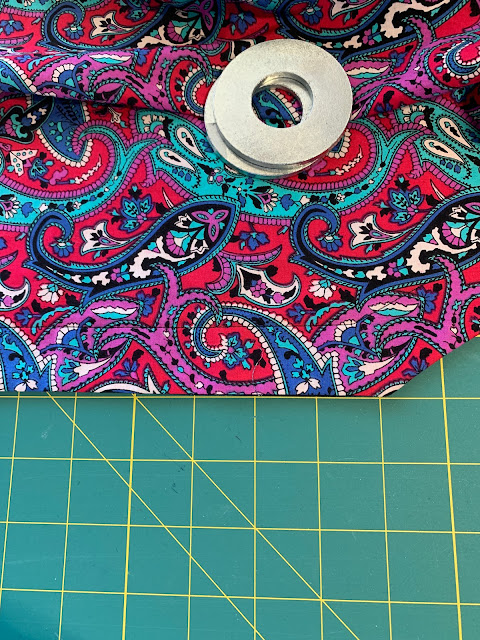
| You can see that no matter what color marker I used, dark or white, seeing buttonhole markings would be difficult on this fabric. |
 |
| I stuck the stabilizer to the right side of the buttonhole side. |
 |
| I used my flexible gauge to mark the buttonholes. I always opt for buttonholes that are closer together, rather than farther apart. No gaping, |
 |
| I did the same thing for the button side, using the same flexible gauge to mark their location. |
 |
| I used a plain dark fabric for the cuffs, and could mark those with white chalk. |
 |
| Before |
 |
| After |


Comments
Post a Comment