Do you keep some fabrics forever? They are just so pretty you don't want to cut into them? Yeah, me too. Well, I finally figured out that I'm not getting any younger, and I can't take them with me, so it's time to start using them.
I found a wonderful blouse pattern called Patina from Friday Pattern Company It sews up quickly and fits well and looks good. So, I pull out one of the prints I've had for 10 years :) and decide that today is the day. The problem? I almost don't have quite enough. After I cut it out, this is all I had left!
Normally, sewing patterns have a 5/8" seam allowance. This is really quite a bit of room if you need to fudge something in order to make the fabric stretch. Then I remembered this particular pattern has a 3/8" seam allowance, which is not a lot of room! But I'd already laid it out. So I did some finagling.
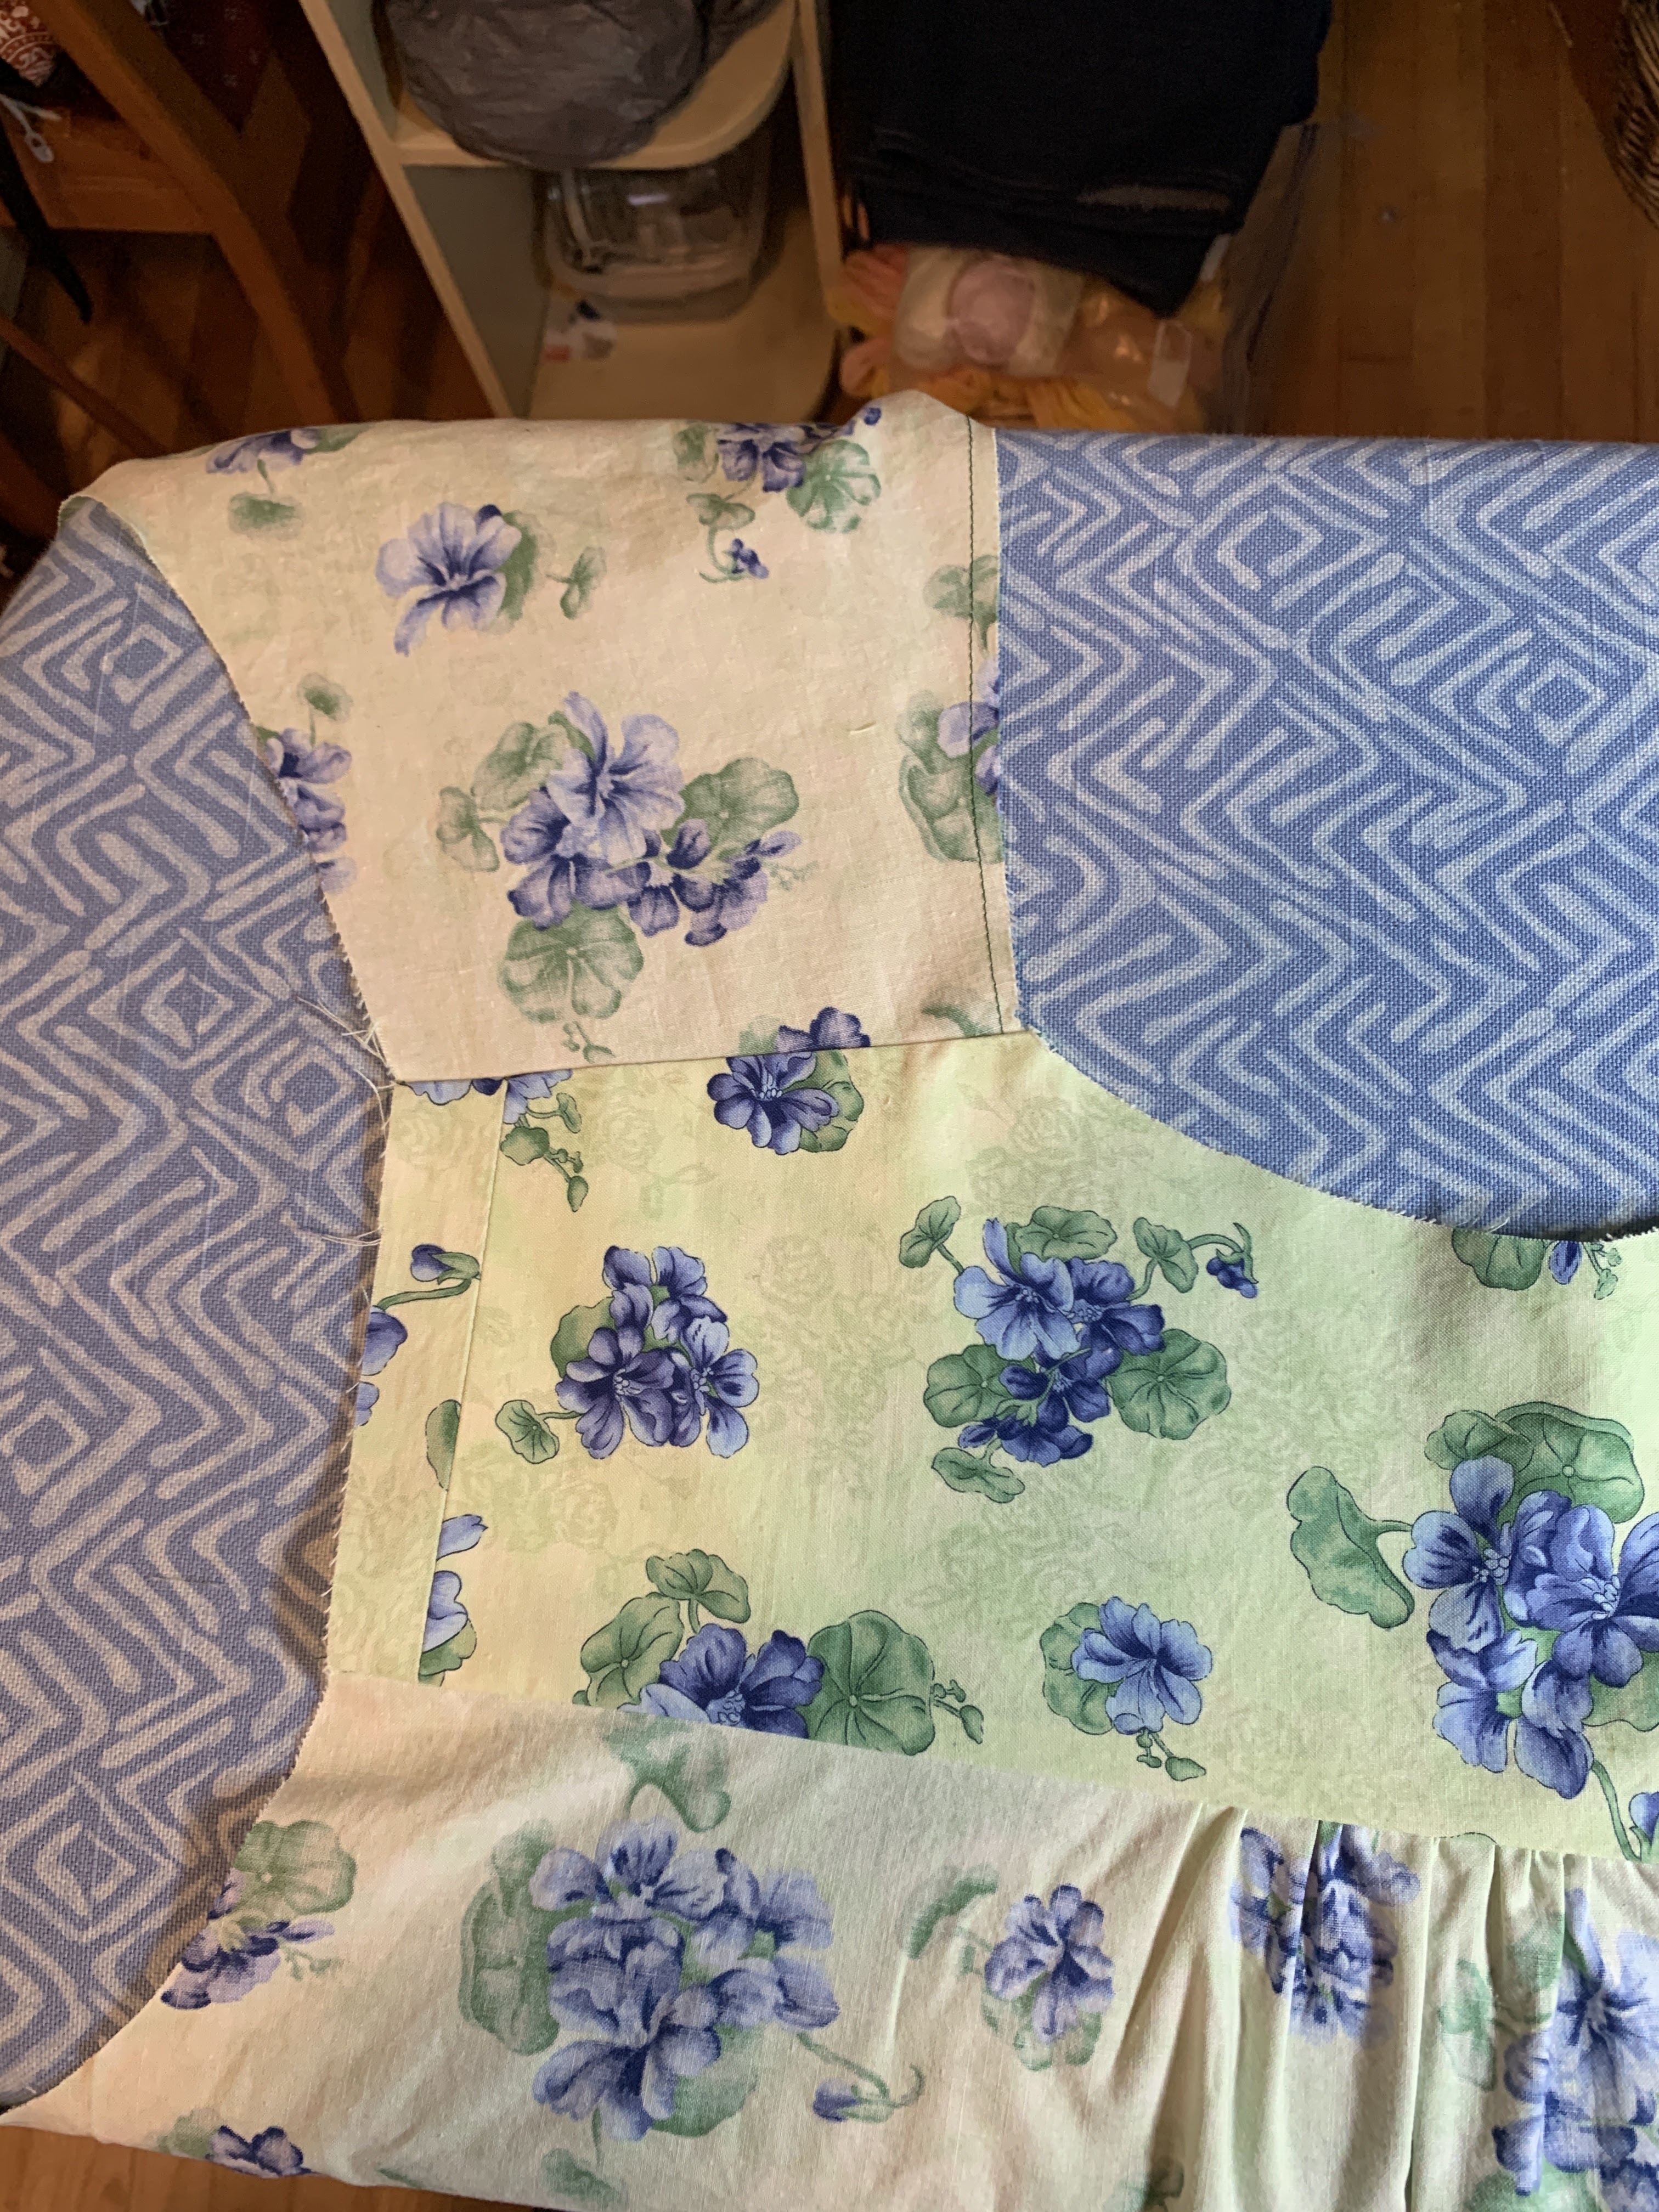
This is the end of the back yoke, with the 5/8" seam marked. The problem was there was a small bit cut from one layer of fabric (about 8" square) and I didn't realize that until I cut the yoke out. But, no worries, there was enough there to fudge it, right? All that cutout part would be in the seam allowance and all would be well. Wrong! With a 3/8" seam allowance, there was no room. So ... I added a piece to the end of the yoke and re-cut. Now I just had to be careful to put this side of the yoke inside the blouse, not on the outside!
 |
| You can see here, I did put the pieced yoke on the inside of the blouse. Phew! |
My second problem was there was not enough fabric for the neck/center front facing which is all one piece. I had enough fabric for part of the facing, but not all of it. Solution? Get out the white fabric.
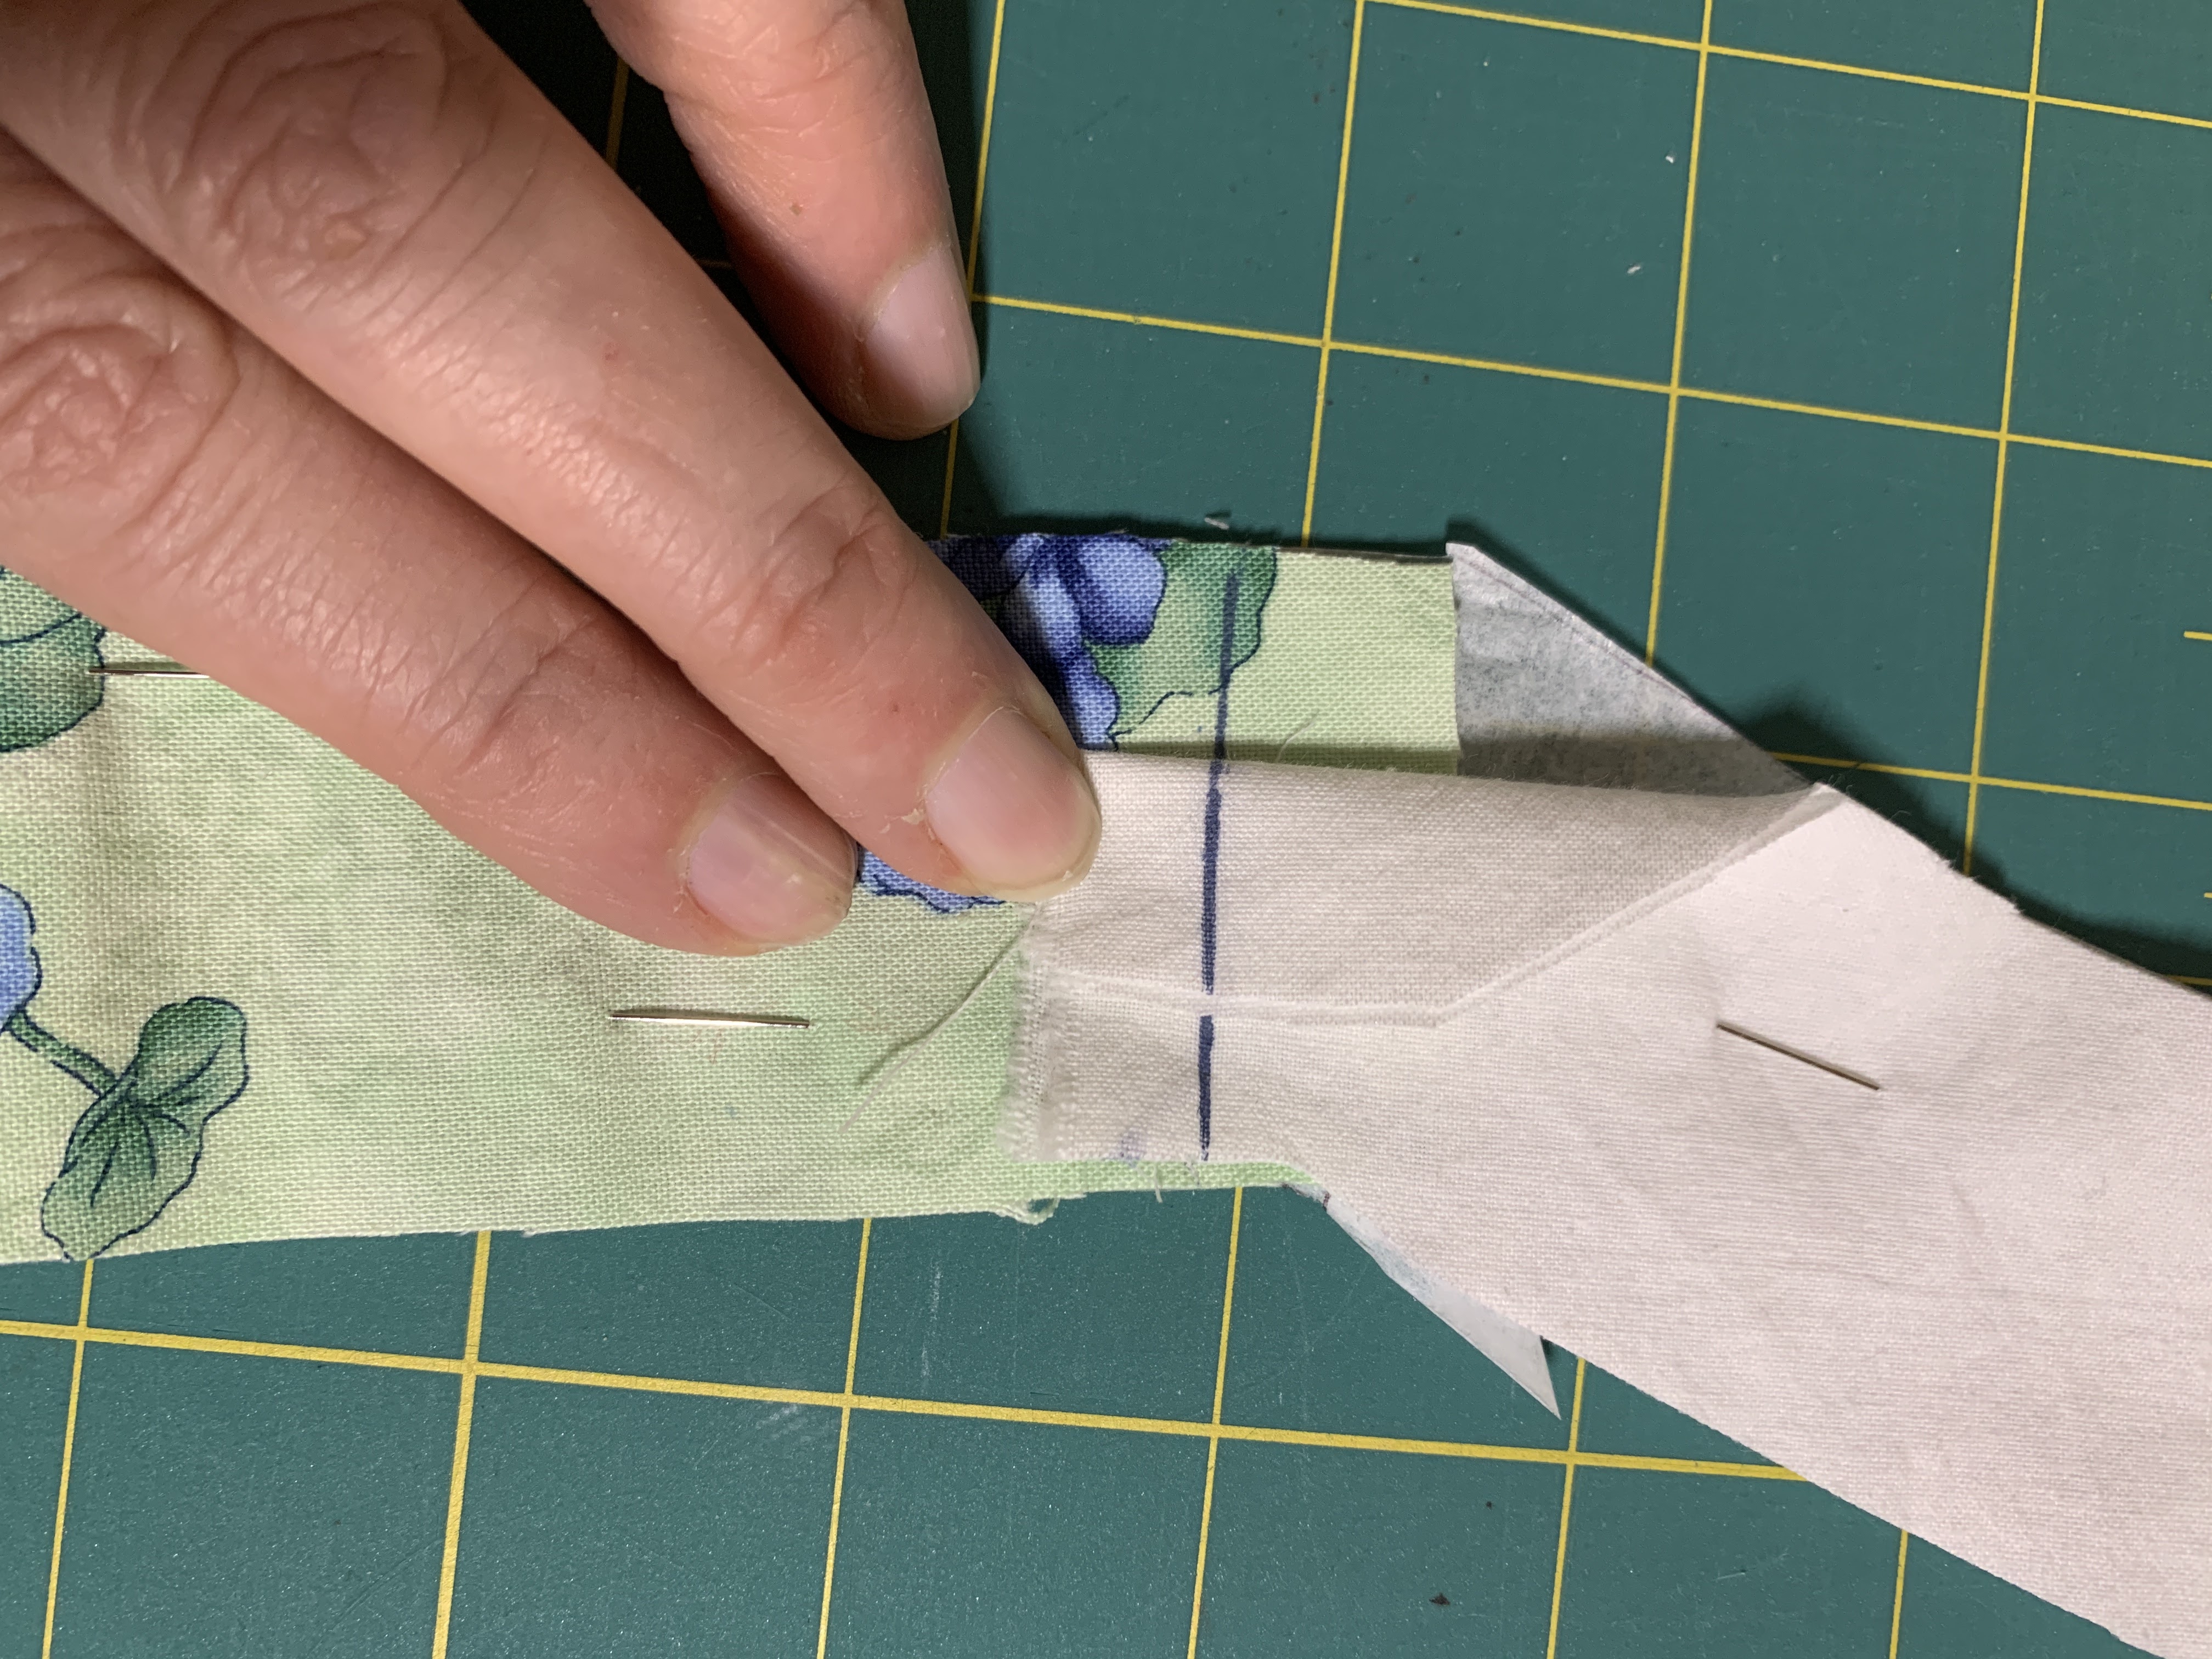
I overlapped the self-fabric section of the facing with the white and cut it out. The white part is the facing that goes around the neck. Since it has a collar, that white facing won't be as noticeable as the front center facing. After cutting them out, I marked the seam line to join the two pieces.
Place the pieces right sides together, and sew on the line. I use Frixion pens, so when I pressed the seam, the marking's disappeared.
was where I'd cut into the seam allowance for the sleeve.
I was all set to write this blog post, and taking pictures for it, which is why this is marked 5/8" inch. If the seam allowance had been 5/8" you can see I'd have had plenty of room but it turned out differently. In this case, since I'd already cut the pieces out I just had to make do.
This is the top of the sleeve, which is gathered before sewing into the armhole. While sewing that seam, I just veered a little towards the sleeve in order to give me a wider seam allowance. With the gathering it was barely noticeable. And. since this is a rather loose-fitting pattern and not really tailored, the fudge was acceptable. And like my Granny said, No one will notice it on a galloping horse! In a more form fitting garment, it might not work as well.
Don't be afraid to fudge here and there, but be sure about your seam allowance first! :)


Comments
Post a Comment